
How To Install LED Light Strip In 5 Minutes
It’s the most wonderful time of the year— to learn how to install LED light strips!
No, this guide isn’t for your Tik Tok videos (although it could be). Many homeowners see the appeal of these LED fixtures for different areas in their homes. They’re less harsh than overhead lights, simple to install, and they won’t give you away when you sneak into the kitchen for a midnight snack.
So, just in time for the holidays, let us break down why, where, and how to install LED lights.
RELATED: 8 HOLIDAY LIGHTING SAFETY TIPS
5 Clever LED Light Strip Ideas
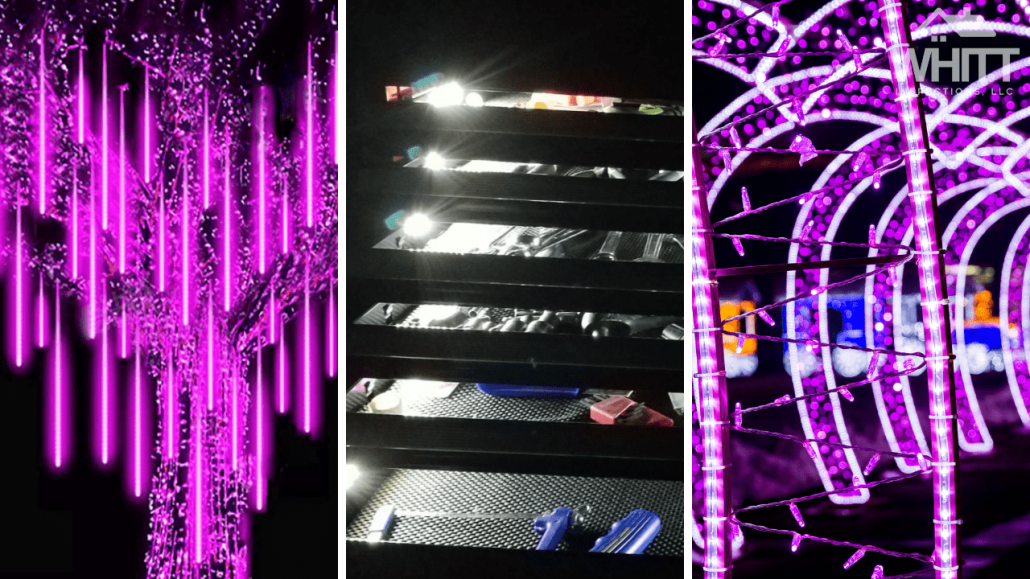
LED Light strips are relatively affordable; you can find a 100-foot roll on Amazon for about $20-$30.
As a home inspector, I’ve come to learn that this little accessory (which is usually for decoration) is a pretty handy tool! Because you can adjust the brightness and even the length of the area that needs lighting, it’s pretty efficient for those hard-to-see areas.
We’ve seen a few creative LED light strip uses both in homes and used by professionals. Here are some ideas on how you can use them for yourself!
RELATED: HOW TO CHANGE OR REPLACE A LIGHT FIXTURE IN YOUR HOME
#4: LED Light Strips for Cars
When I started researching LED lights, cars were the last thing from my mind. When I think of LED lights in cars, I think about people installing colored strips that coordinate with their stereo.
Kinda cool, but not really necessary, right?
However, these easy-to-install lights have come in handy for on-the-go professionals like myself. We drive a pickup truck for work, and while we’re usually pretty tidy with our tools, sometimes things get buried.
Installing a short (I’m talkin’ maybe a foot) LED strip in the back of your truck bed or underneath your front seats can help you locate those loose items that go amiss while driving around.
Bonus LED Light Strip Idea: Get them for your toolbox!
#3: Home Lighting
We’ve inspected our fair share of homes in Florida. Lately, it’s quite evident that LED lights are becoming quite popular!
Besides your teenagers wanting these strips for their ceiling lighting (it’s the Tik Tok way!), you can steal a couple of yards of lights for yourself.
Here are some clever areas we’ve seen homeowners install LED light strips:
- Under kitchen counters or inside cabinets
- Along the staircase
- Behind TVs
- Around a vanity mirror
- In dark corners of a garage/shed
#2: Outdoors
These lights are not only flexible and easy to install, but there are waterproof options, too! This makes them the perfect accessory for outdoor things like:
- Camping
- Boats
- Outdoor parties
- Bikes
#1: Holiday Decoration
So this one is a pretty obvious LED light strip idea. But it’s almost Halloween when we’re writing this, so it seemed worth a mention.
If you’ve ever used these versatile lights for decoration, now you know that they don’t have to go to waste the rest of the year! Instead of packing away your waterproof LED light strip in your Christmas box, repurpose it for the areas around your house that we mentioned earlier.
RELATED: 5 WAYS TO REDUCE YOUR ELECTRIC BILL IN FLORIDA
How To Install LED Light Strip In 5 Minutes
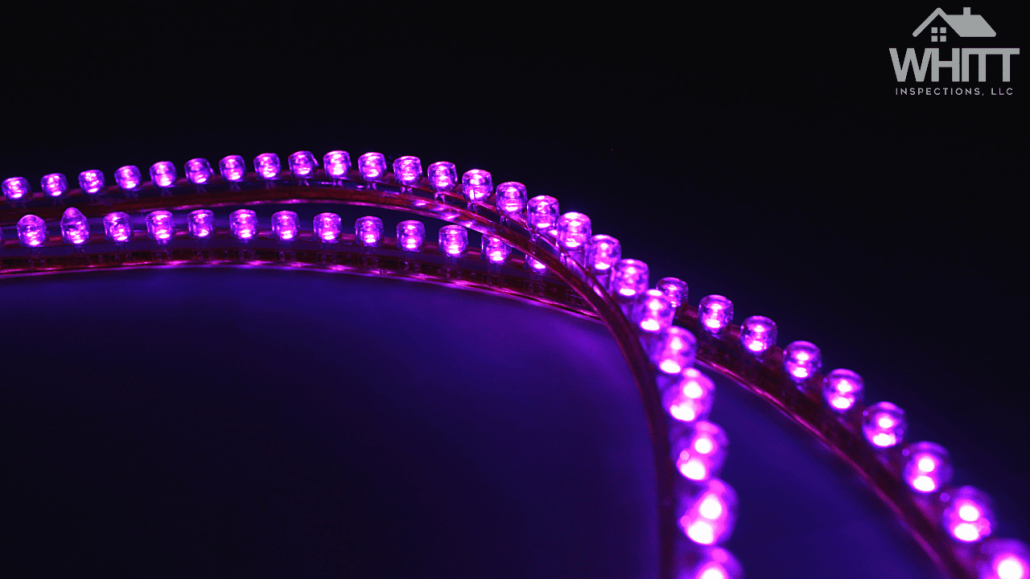
Now that you have some ideas on where you can use 100 feet of LED lights throughout your house, let’s get into the confusing part: how to install an LED light strip.
Don’t worry; it’s way more straightforward than it looks. It should only take you 5 minutes to install!
Step 1. Peel and Stick
We recommended doing this before figuring out where to cut the LED strip because it’ll be easier to determine how much you want to use. You can also pre-measure the surface area where the lights will go and make a note of how much you’ll need.
Let’s say you purchased this 100-foot spool of LED lights from Amazon. How do you install them?
First, pick where you want them to be; let’s say you’re putting up lights underneath your kitchen counters. Make sure you clean the area with a dry cloth to get rid of dust. We also recommend placing your lights on a smooth surface for a more secure installation.
Next, unravel the strip so that it matches the length of your counter. These lights have an adhesive back, so you’ll just need to peel the backing off and stick it where you want it to live.
Only do this one foot at a time. Press firmly along the light strip as you go to make sure it’s fastened securely to the surface.
Step 2. Where To Cut LED Strips
This is the part that throws everyone for a loop. Most people realize that you can’t just cut a wire anywhere without risking damaging the entire circuit.
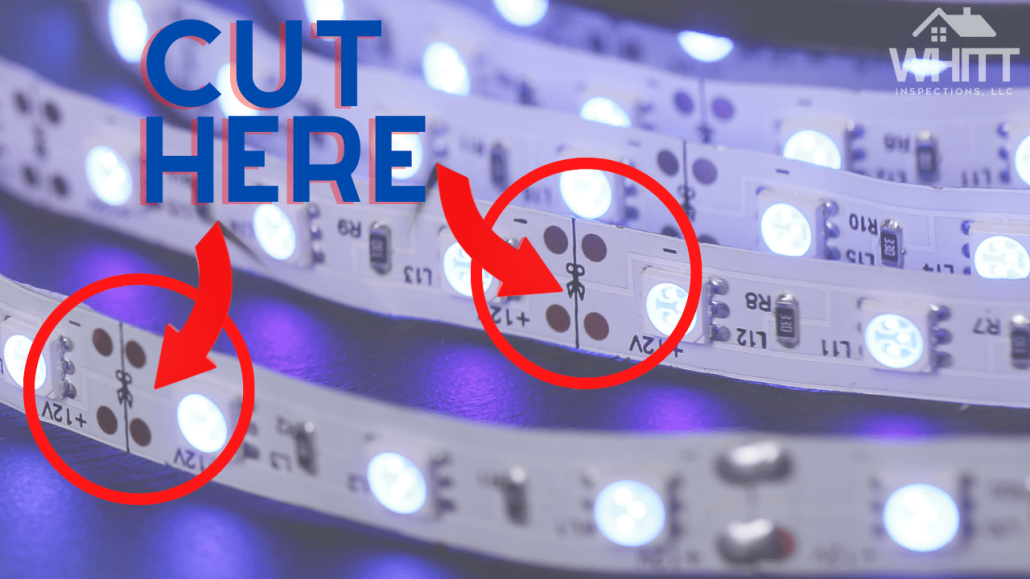
Fortunately, these LED strips come with pre-soldered sections so you can choose your light length at varying intervals.
You’ll find copper-colored markings (see above) throughout your LED light strip. Simply choose your length and cut a vertical line through the designated copper area.
Note: Make sure you cut a straight line! A crooked cut could prevent your LED light strip from working correctly.
Step 3. Lights, Camera, Action
Once your strip is cut and put into place, you need to connect it to the main power supply unit (the receiver).
This little unit (white or black) should come with your lights. It will have 3 or 4 “pins” sticking out of it. Connect this to the cable at the beginning of your light strip. Then, connect the receiver box to your electrical outlet and watch your lights come to life!
It’s all plug-and-play.
Here’s a great tutorial on how to install LED light strips. However, we don’t recommend twisting the strip to get around corners, which could damage your lights. Read the next section for a better solution!
Step 4. How To Install LED Light Strip Connectors
If you want to run lights across a large area, it may require you to use LED light strip connectors. Think of them like elbows you’d use for PVC piping. They help the lights span across uneven surfaces, corners, and other obstacles you may find when installing your lights.
To go around corners, you can purchase additional LED connectors. There are flexible L-shaped, gapless, and T-shape connectors. All you’ll need to install these LED strips together is a connector clip (usually comes packaged together). Simply snap each strip into the connector and click them into place!
Naturally, if you want to place LEDs in a completely different area, then chances are, they won’t be able to connect to the main power supply unit or receiver that came with your lights.
In that case, you can purchase a separate power supply bank to attach the lights to. Here’s a tutorial on how to install an LED light strip to a power supply bank.
RELATED: HOW TO FIND A STUD IN A PLASTER WALL
We hope this short tutorial on installing LED light strips comes in handy for all you homeowners out there! If you want more handy DIY tips from your favorite home inspection company, make sure to catch up on our Homeowners section of our website!


