You’re finally thinking about moving to your dream home in Florida. As much as it really IS paradise down here, there are a few things about moving to Florida that homeowners don’t expect.
Moving from one state to another is never easy. The good news is, you’ll probably get to purge a lot of your Northern belongings because there are things you simply don’t need here in the Sunshine State (like scarves).
But aside from lightening your wardrobe, is there anything else you should be aware of? We’ve met many Northerns who book it down to Florida just to escape the cold. They don’t realize that while you may not have to shovel your driveways anymore, you still have home care responsibilities that are pretty unique to Florida homeowners.
So, let this be your official Moving To Florida Guide, where we go over the pros and cons, the real estate market, and home essentials.
RELATED: HOW MUCH DOES A HOME INSPECTION COST IN FLORIDA?
Moving To Florida: Pros and Cons
If you’re debating whether or not Florida should be the place you call home, then it’s natural to want to make a Pros and Cons list.
But we decided to do the brunt of the work for you!
Here’s what you need to know about moving to Florida— the good, the bad, and the ugly.
The Weather… Kind of
Florida is notorious for its year-round tropical weather. And even though right now you may laugh at the Floridians who bundle up when it’s 65 degrees, we can guarantee that this will be you in the future.
Just give it a year.
Besides this chilly weather that you’ll have to deal with 4-weeks out of the year, there’s also summertime. Summer months in Florida can get up to 90 degrees with a heat index of 103-110 degrees. It may not sound that different from what you’re used to, but there really is nothing quite like the Florida heat.
Be prepared to stay mostly indoors from June-September. When you get your home inspected, make sure the AC unit is in good condition because your electric bill will take a hit if it’s not.
The Entertainment
No matter where you are in Florida, you’ll always have something to do. Between the beaches and springs, you can experiment with just about any water activity (highly recommend tubing and kayaking, by the way).
This is also why you want to make sure you have a big enough garage or storage space in your new home. There are actually rules to follow when it comes to storing boats, jet skis, and even paddleboards in your front yard.
There’s also plenty to do for food and craft brew junkies with small mom and pop businesses on the rise. Of course, you also have theme parks and nightlife cities like Miami to really fill your entertainment needs.
A con to living in the Florida entertainment-centric cities: locals still have to pay tourist prices.
The Cost of Living
One of the biggest perks to being a Florida resident is not having state income taxes. However, there are other costs of living that are particular to Floridians. For example, your insurance rates will likely be higher than what you’re paying now. There’s also flood insurance to consider if you’re living on the coast.
Here’s more data about the cost of living in Florida.
RELATED: SUMMER HOME MAINTENANCE CHECKLIST
Moving To Florida Checklist

Alright, so it looks like there are more pros than cons when it comes to moving to Florida. So what’s the real first step in finding where you’ll settle down?
We usually get to work with new Florida homeowners after they’ve gone through this checklist, but here’s what we recommend based on the conversations we’ve had with our customers!
1. Check the Market
The price of a home in Orlando can be mind-blowingly different from a house in Lakeland (despite the fact they’re neighboring cities).
We know most people will only check the real estate market once they decide on a city with the best schools and entertainment. We suggest looking into those neighboring cities if you want to pay a fair price. You may want to be right next door to Disney World, but you can easily get a nicer and more family-friendly price in Altamont Springs, which is only a 45-minute drive to the parks!
Here are a few market guides about a few of our favorite Florida cities:
- LAKELAND, FL REAL ESTATE UPDATE
- BEST PLACES TO LIVE IN ORLANDO
- TAMPA REAL ESTATE UPDATE
- LAKELAND/WINTER-HAVEN METRO IS THE 2ND FASTEST GROWING AREA IN THE COUNTRY
2. Get Pre-Approved and Find an Agent
Homes are being snatched up in literal hours. Time is of the essence in the 2021 Florida real estate market, so make it count. Once you know where you want to live, find a local agent and work on getting pre-approved. This might mean taking steps to improve your credit score, determining a down payment (20% is the norm in Florida), and saving for moving expenses.
Once you know your budget, look online to find a few choice homes and their price range. Then, it’s time to get pre-approved! Don’t even think about making a special trip down to Florida to look at houses without this letter.
When you finally have your pre-approval letter, you’ll be equipped to find your dream home and get your offer accepted.
3. Make Multiple Offers
Speaking of, if you think you’ll be moving to Florida in just a few short months, you might want to rethink your timeline.
Because the market is so competitive, your agent may suggest making offers on multiple homes. That way, if one offer gets denied, you still have a few options on the table.
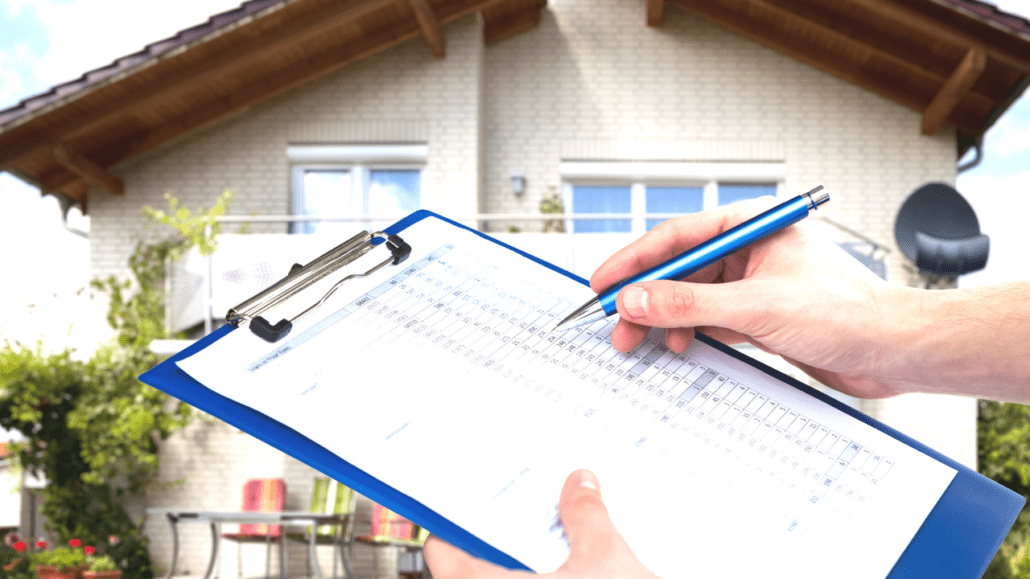
4. Get an Inspection
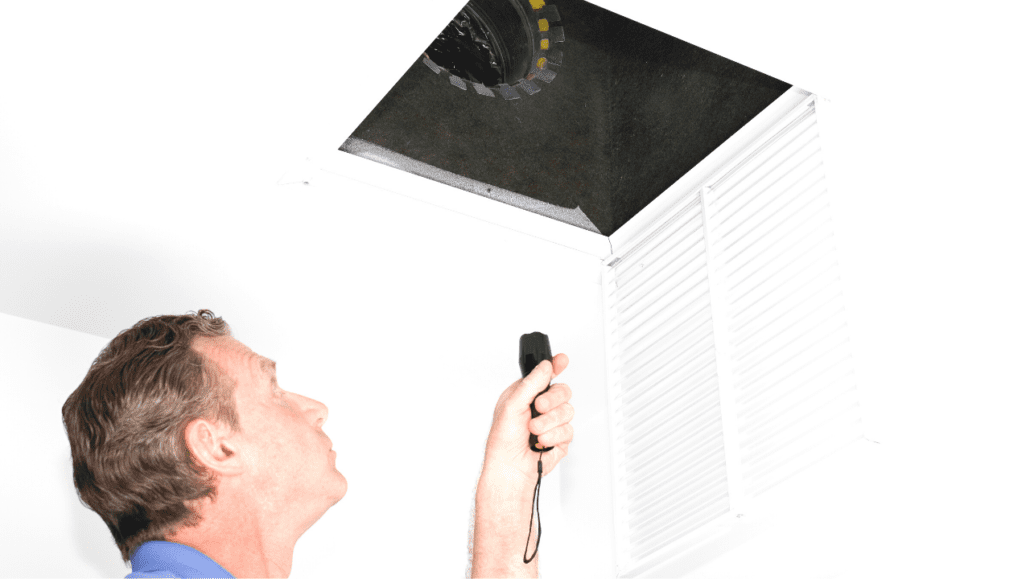
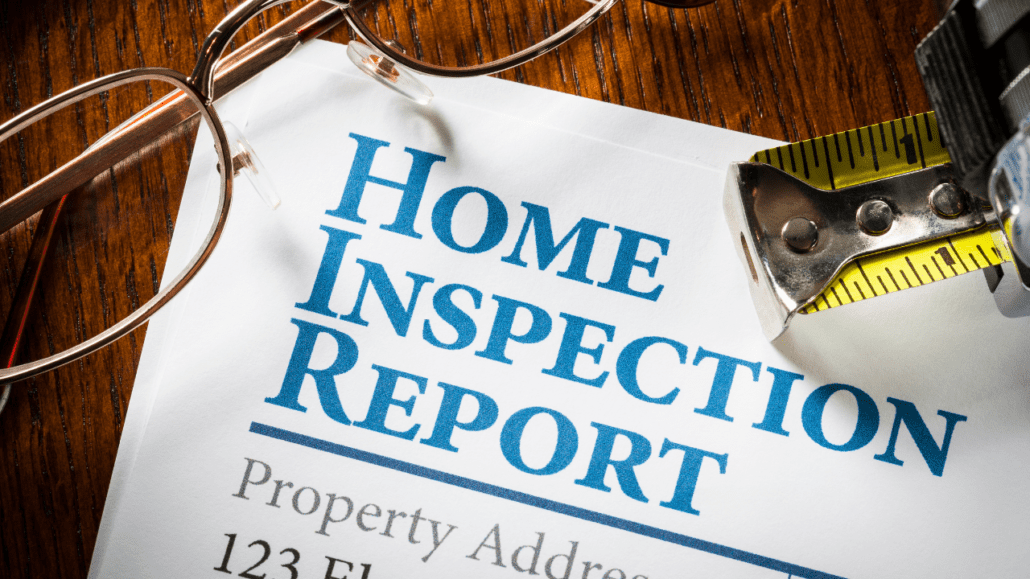
A Florida home inspection is vital, especially if you’re new to the Sunshine State. Your home inspector will let you know:
- If your AC unit is in good condition (a must for those Flordia summers)
- The age of your roof
- Whether or not the home needs a new paint job (especially if its stucco)
- Pool/spa and irrigation conditions
Florida’s weather can really affect the condition of your home, so knowing the ins and outs of its overall condition can really save you money in the long run. Here are some questions your should ask your Florida home inspector.
5. Pack Accordingly
If your offer is accepted and you’ve passed the home inspection stage, then congratulations— you’re officially moving to Florida!
It’s time to ditch the snow boots for flip flops and get rid of your spare snow tires. Here’s a short list of things you’ll need now that you’re moving:
- Flip flops
- Ceiling/standing fans
- Blackout curtains
- Sunpass
- Garage storage containers
- One of these things for your car
- Hurricane shutters
Side note: If you’re moving to Florida from New York or somewhere else where public transit is popular, you’ll definitely need a car. Our public transportation system is basically nonexistent.