There are plenty of different types of sod for Florida homes, but that hurts more than it helps, doesn’t it?
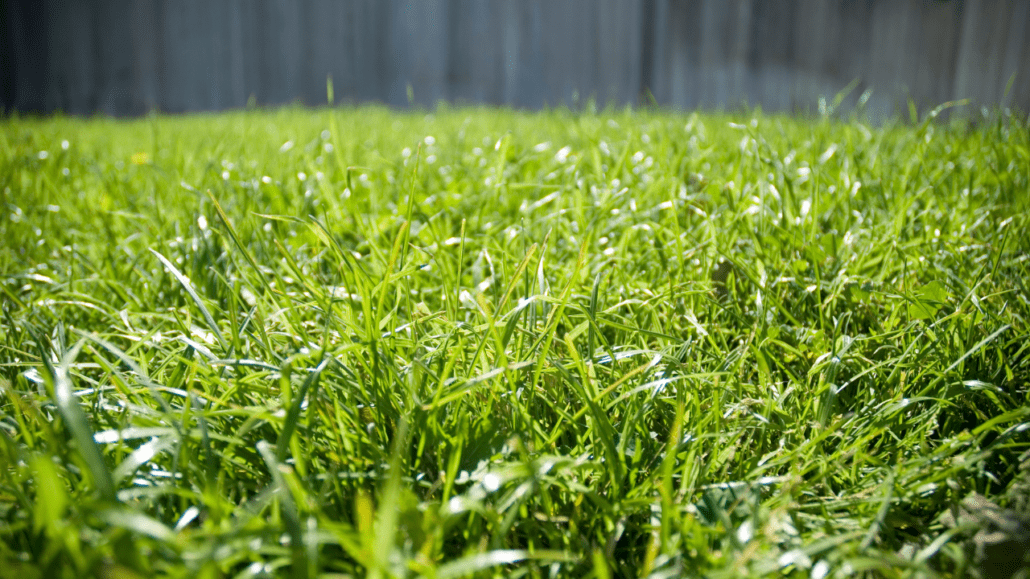
Contrary to popular belief, Central Florida landscapes can be challenging to maintain— especially if you don’t choose suitable materials. With the illustrious sunshine and ample rainfall, your front yard can end up looking like a swamp if you’re not careful!
That’s why you need to be up-to-date with Florida’s (er—irregular) weather patterns if you want to know how to select and take care of your grass. You’ll also need to consider which types of grass have shade/drought tolerances, their chemical needs, among other Florida-friendly landscaping nuances.
So let’s dive into the different types of sod grass so that you can determine which one is your best bet for your new backyard.
RELATED: BEST PLACES TO LIVE IN ORLANDO
6 Types of Sod Grass For Florida Homeowners
Determining which sod is best for your Florida lawns starts with understanding Florida weather.
We know… it’s not as easy as it sounds!
In Florida, grass growth tends to slow down around January when we get that “Florida winter” (e.g., the weather drops down to about 50 degrees— chilling!).
Naturally, the rate that your sod grass grows also depends on your location in Florida. For example, coastal towns have to take salt content and hurricanes into consideration. And South Floridians have much more temperate and consistent weather conditions compared to North Florida homeowners.
That’s why, on average, the best time to plant new grass is late Spring or early Fall. This is when there’s a decent amount of rain and sunshine. But not too much to where your lawn maintenance becomes a challenge.
Knowing these simple factors will better equip you to decide which of the following 6 types of sod grass is the best fit for your Florida landscape.
RELATED: HOME INSURANCE IN FLORIDA: WHAT YOU NEED TO KNOW
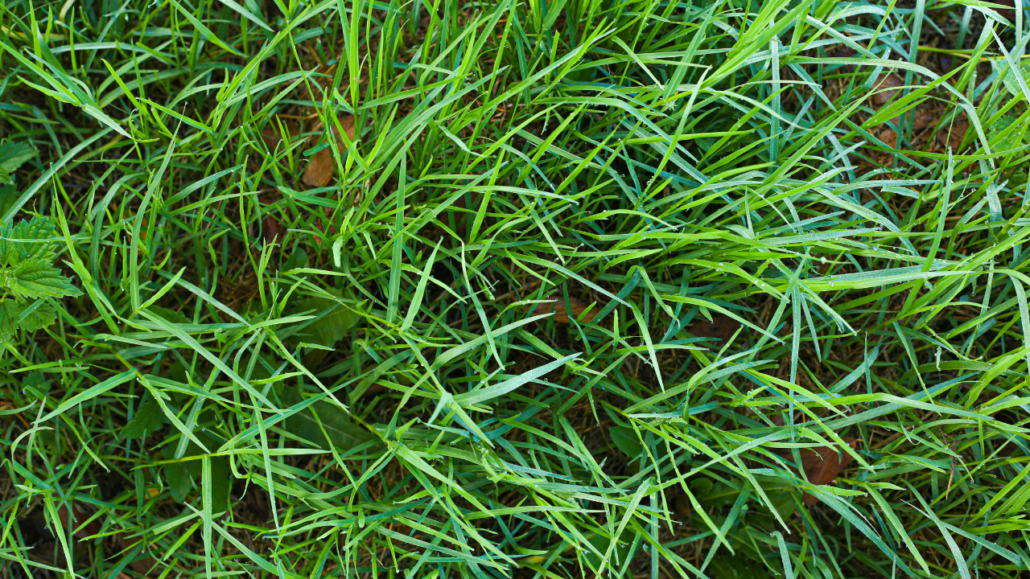
1. St. Augustine
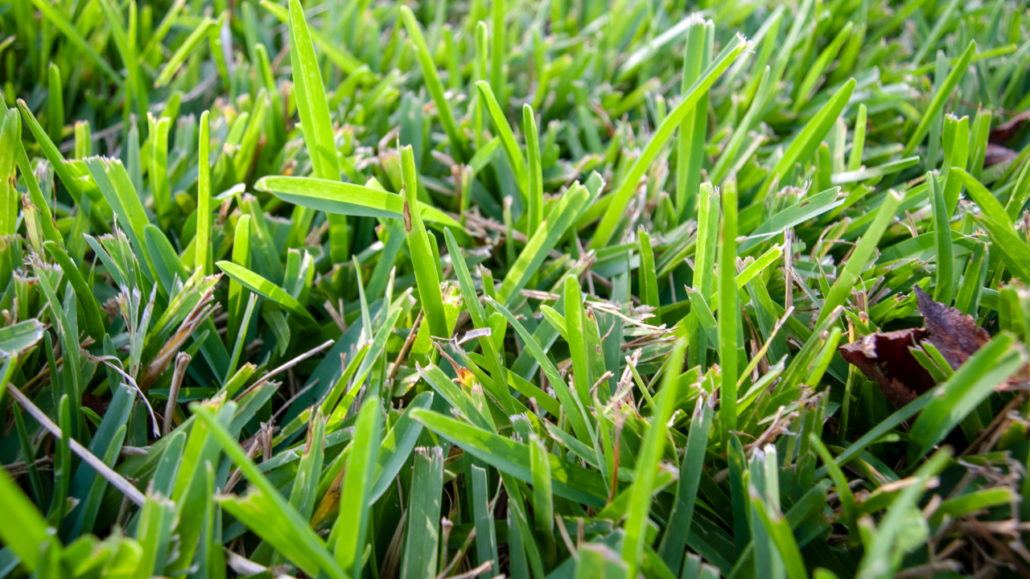
If you ask anyone what the best grass to grow in Florida is, this one is probably the first answer you’ll get.
You have your pick of the crop when it comes to St Augustine grass. From Floratam to Seville, each of these St. Augustine variations come with their advantages. Bitter Blue is cold-tolerant, while Seville has excellent salt and drought tolerance.
Floratam is the only St. Augustine that doesn’t thrive in the shade, which is why it’s a top choice for Florida homeowners. Sapphire, Palmetto, and CitraBlue are also great options. However, CitraBlue might be preferable to Palmetto because it requires less fertilizer.
Pros: Tons of options, thrives in Florida’s climate, dense, great for suburban areas
Cons: high maintenance (weekly mowing), high turnover needs
Options:
- Seville
- Floratam
- Sapphire
- Palmetto
- CitraBlue
RELATED: SUMMER HOME MAINTENANCE TIPS
2. Zoysia Grass
Then there’s Zoysia, which is actually labeled on the “higher-end” when it comes to grass.
This type of sod is excellent for Florida homes because it works just about anywhere. It’s shade resistant and puts up a fight against weeds— hence why you don’t need to worry so much about herbicides.
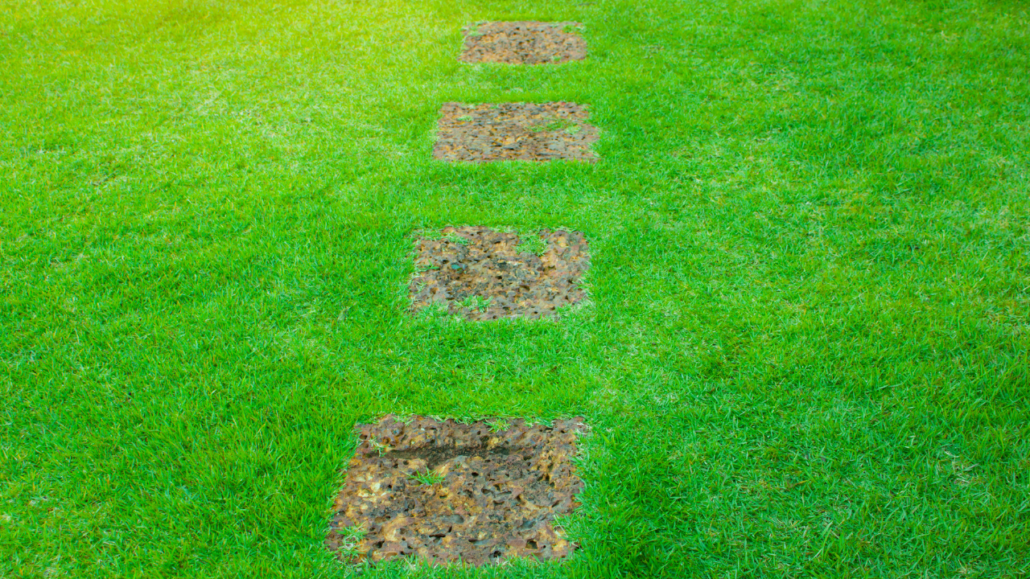
However, Zoysia grass is a double-edged sword. On the one end, it’s exceptionally wear-resistant, which is terrific for homeowners with kids and/or pets. On the other end, this means that any damage it does acquire takes a long time to grow back.
It also tends to track in some pests, which means you’ll have to use pesticides regularly.
Pros: weed-resistant, shade tolerant, wear-resistant, less mowing required, fancy-looking
Cons: low cold tolerance, pest-attractor, requires chemical maintenance
Options:
– Palisades
– Empire
RELATED: HOW TO INCREASE CURB APPEAL
3. Bermuda Grass
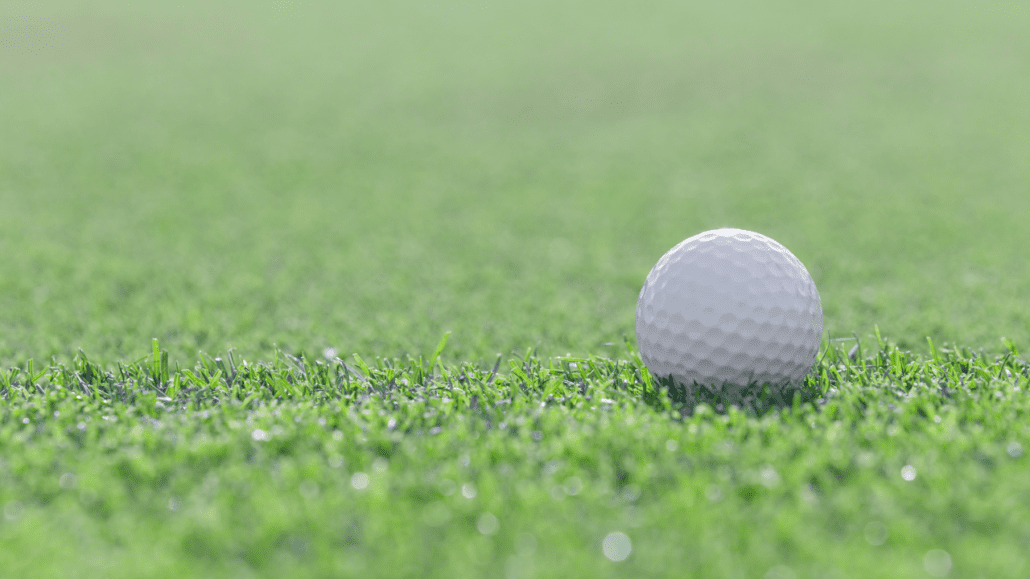
You’ll see this lush green carpet all over Central Florida, especially if you’re a golfer. Besides being wear-resistant, there’s also its high drought tolerance and strong root system. This makes Bermuda grass the prime choice for golf courses, football fields, and yes, even Central Florida lawns.
But that’s where the good news ends. This type of sod in Florida is difficult to maintain. It grows fast. We’re talking mowing twice a week fast. You’ll also need to irrigate and fertilize it frequently.
Pros: high traffic tolerance, drought-tolerant, deep roots, dense, thrives in warm climates
Cons: overgrows, high maintenance (pesticides, insecticides, herbicides)
Options:
- Improved Bermudagrass such as Celebration Bermudagrass or Tifway 419 Bermudagrass
- Common Bermuda grass
RELATED: HOW MUCH DOES A HOME INSPECTION COST IN FLORIDA?
4. Bahia Grass
More than likely, the grass you’re seeing on your neighbors’ lawn is Bahia. It requires the least amount of upkeep, meaning Florida’s hot and humid weather is its ideal climate. All it needs is some dry soil, lots of sunshine, and a little rain here and there.
Sounds perfect, right? Here’s the catch:
Bahia wilts in the shade, disintegrates in any type of cold weather, and requires weekly mowing. It’s pretty prone to sprouting weeds.
But ultimately, Bahia is the most Florida-friendly grass type.
Pros: easy to maintain, little irrigation needed, drought-resistant
Cons: turns yellow in colder weather, needs weekly maintenance
Options:
- Pensacola Bahiagrass
- Argentine Bahiagrasas
RELATED: WHAT IS AN IRRIGATION INSPECTION?
5. Centipede Grass
According to The University of Florida’s Institute of Food and Agricultural Sciences (UF/IFAS), “It [Centipede] is well adapted to the climate and soils of Central and Northern Florida and is the most common home lawn grass in the Florida Panhandle.”
This type of sod is probably the least high-matienence for Central Florida homeowners. It remains relatively undisturbed in warm and colder climates, and it grows pretty slow. You’ll probably only need to mow every 7–14 days.
If it sounds too good to be true, that’s because Centipede grass has some disadvantages. It tends to yellow, and it doesn’t do well in high-traffic areas or salty environments.
Pros: slow growth, low fertilizing requirements, thrives in hot and cold climates
Cons: turns yellow, short roots, poor wear and salt tolerance
Options:
- Oaklawn
- Common
- Tennturf
- Tifblair
6. Xeriscaping
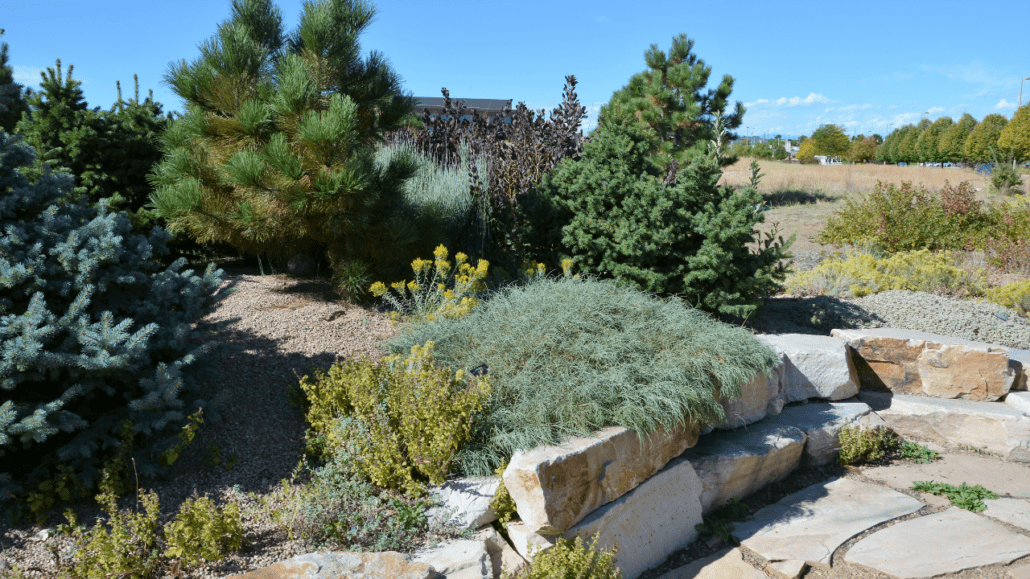
This one is pretty interesting because it negates the idea of having a lawn altogether. This landscaping is minimalist and encourages homeowners to style their yard with native plants, much, and rocks. Unbeknownst to many people, the idea of lawns is actually not in the best interest of the planet and the environment. There is a push in some circles to ban them outright.
The appeal to this type of lawn is that it doesn’t need irrigation, is drought-tolerance, and conserves water. However, people see luscious properties and curbside appeal as modern luxurious, so this idea has been met with skepticism.
Pros: low maintenance, water-conserving, drought tolerance, no irrigation needs, promotes biodiversity
Cons: requires some knowledge on plants, not functional for sports or play, may be costly, not as pretty (may turn away buyers)
What’s the Best Grass To Grow in Central Florida?
Considering all these types of sod for Florida weather, you’re probably still wondering which one is the best sod for Florida lawns.
Let’s go over what you want from your grass. We’re guessing you want:
- Low maintenance
- Drought tolerant
- Thrives in a warm climate
With all the pros and cons we listed, it’s safe to say that really any of these will work for your Florida lawn. However, if you want what’s popular, what looks the best, and checks those three boxes above, then St. Augustine and Bahiagrass should be your top contenders.
NEXT: WHAT TO EXPECT FROM YOUR HOME INSPECTION – BEFORE, DURING & AFTER